Today I learned how to prep and lay sod. The hardest part to laying sod is the preparation and the finished product is only as good as the preparation. The first step was to add some amendment to the existing soil. Luckily, this client has her yard re-done every year, so the soil wasn't all that bad. Her yard is surrounded by huge trees so it doesn't get the proper amount of sunlight and other nutrients it needs. Plus, she has a dog that tears it up, so she just has it re-done.
Here are some pics of the job!
.jpeg) |
| Before |
 |
| Digging up what little lawn was left and getting it ready to be tilled. |
 |
| I added a soil blend and tilled it in with the existing soil |
 |
| Next, I raked and removed any debris. ie, roots, grass, etc. |
 |
| Rolls of sod |
 |
| Using the lawn roller. I raked and repeated this step about 6 times! |
 |
| All prepped and ready to go for the sod. |
 |
Laying and cutting the sod. All of
those years of playing Tetris as a kid is starting to pay off! |
 |
| Rolling the sod a final time. This thing is heavy and wears you out!!!! |
 |
| The finish product. It turned out nice and it was a great learning experience! |
 |
| Trust me, i'm that strong!!!! |
 |
| Not really, I just emptied the 50 gallons of water that was in it! :-) |
I also got to add some garden compost and mulch for a client.
 |
| Before |
 |
| After |
 |
| Before |
 |
| After |
 |
| Garden mulch |
 |
Adjusting the spray pattern for a client. Who wants to water the pavement?
My Irrigation class has definitely paid off!! |
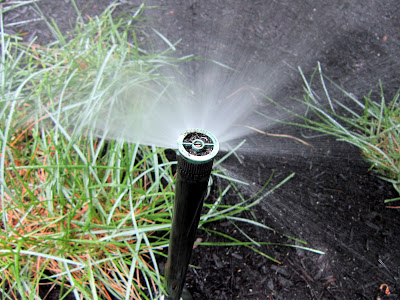 |
| It was much easier making the adjustments here than the one at school :P |
I will try and add some pictures of a patio that I am working on in the next couple of days. I must say, I am really liking the construction side of things. Hardscapes in my future? hmmm....
.jpeg)


No comments:
Post a Comment