Wednesday, August 8, 2012

08-08-2102 Co-op


Well folks, this is probably going to be one of my last blogs as far as my Co-op goes. It has been a great experience!!! I've worked well over the required amount hours and have had so much fun doing it. I may end up working part-time on some future projects, but we'll see. I need to focus on things around my house and start preparing for fall term. It will be here before I know it! :P

Over the last 3 months I got to do a basic site analysis, demolition, installation, routine maintenance, irrigation, drainage, construction, and a lot of other things. I also got to see what it was like working with residential and commercial clients as well. It was nice to be able to apply the skills that I have learned over the last year in school and to be able to share some of those skills with Troy and his crew.

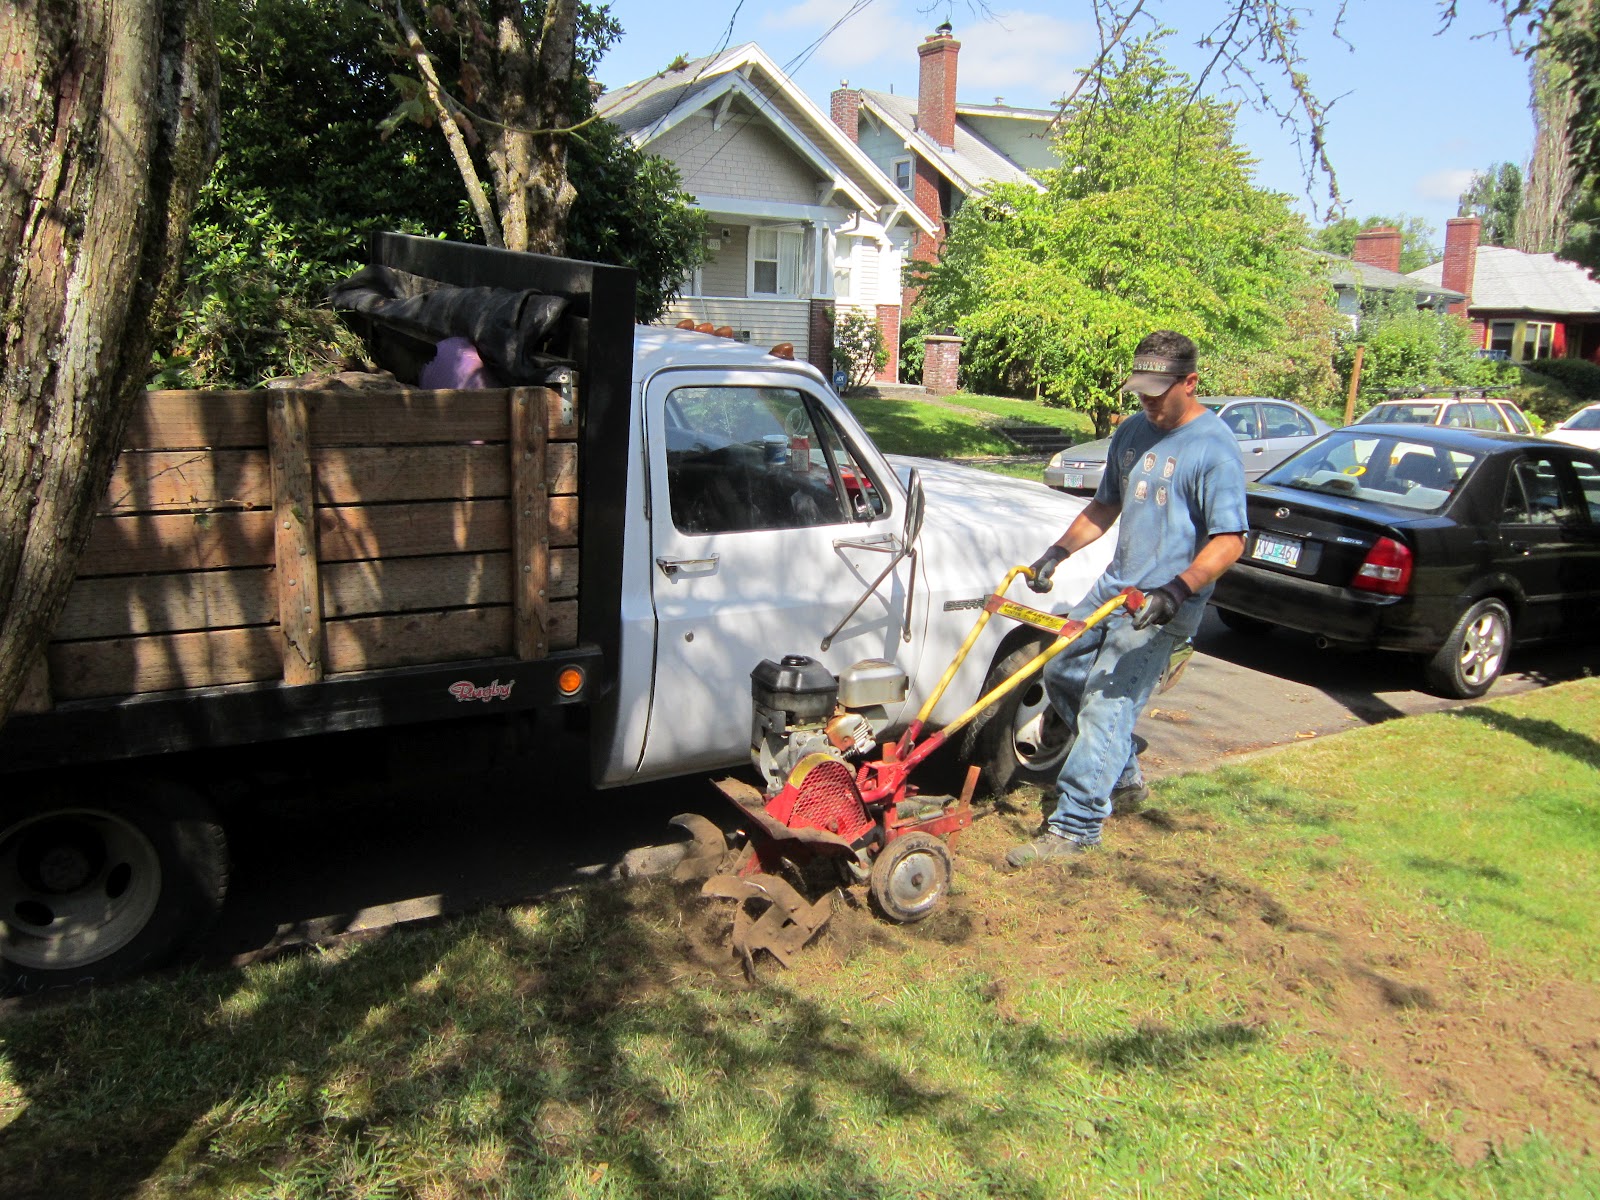
For my final project, I got to build a small rock wall, lay some sod, and do some more demolition! This particular client had a leaky basement and some foundation problems, so we had to go in and remove the concrete and dig down 7 ft. to expose the exterior wall. After that, we will apply stucco and repair any area that has been damaged. This is a pretty common thing in Portland over a period of time. Eventually houses settle and foundations crack.

Here are the pictures! :)
Before

After

Rocks for retaining wall

These rocks were heavy! It was a matter of getting them
lined up so that it could support the soil. The yard was
sloped and then dropped off too much on one side, so
using the rock wall was the best way to fix that!


Using the jack hammer. This was one heck of a workout! 

It took about 2 hours to get the stairs out.

The truck was full by the time we were done. 

Yay! No more stairs. 

This is the wall that needs to be repaired. 
Troy's shop. He does various things with left over materials and plants. 

Dahlia 'Mystic Wonder'. This lady had her driveway lined with these. They
were gorgeous!

Abyssinian banana plant at Troy's shop. 


Garden at the shop

Sunflowers

Love the little greenhouse Troy has.

Cabbage!

Jose, Julian, Me, & Miguel. I'm going to miss working with these guys!
They were so nice and helpful.


Thursday, August 2, 2012

08-02-2102 Co-op


Over the course of the last few days, I got to prep and lay more sod, only this time it was a clients front & backyard. The yard was MUCH bigger than the previous clients, so it took nearly 10 hours from start to finish. While laying the sod isn't all the difficult, getting everything prepped and ready for it sure is. It's very important to rake all the grass, roots, rocks, concrete, and any other debris out before using the lawn roller so that the sod lays flat. After the sod is in, water thoroughly and use the lawn roller again to ensure that it's flat.


Tilling the backyard
                         
Tilling the front yard

Front yard after all debris removed

1 full truck load of grass, roots, concrete, brick, etc. 

Julian showing me how the sod is cut around trees. I thought
this was a neat concept. It involved a string and a kitchen knife!

Final result. 
Front yard
Backyard


I also got to learn a little bit about drainage and see what it was like to work on a *new construction site*. It was a neat experience, but a lot of hard work! I must say, digging through a compacted clay soil with a lot of rock and concrete is not all that easy. After all of the construction is done, Troy and his crew will go back and do the install. I hope to be a part of this project, but if not, I will go back and take pictures. I can't wait to see it when it's done!!!


View of the front

I had to dig down about a foot to lay the new pipe.

Very similar to the parts in irrigation class. Look, an elbow! haha


Repairing a drainage pipe that goes all the way around the house.

I covered the pipe back with the permeable fabric and buried it with dirt
and gravel. This pipe is used to collect water around the foundation of
the house.


The crew that was working on this house had a majority of the walls framed
in 1 day. I asked the head guy when the house would be finished and he said
by October at the latest. WOW! That's pretty impressive.

Drainage pipe that goes around the foundation of the house.
This customer  is going to have 13 downspouts when its all said and done.

The two stacks you see are the chimney's. They will have one for the living room
 and another with a fireplace on both sides (for the outdoor courtyard as well as the other room inside )


Friday, July 27, 2012

07-27-210 Co-op

The last few days I got to help Troy and his crew with the installation of a bluestone patio. Troy did the design, and since this was for a front porch, he used concrete for the foundation. If it were for a garden, he could have used sand or gravel instead of mortar. The first thing I did was unload all of the stone in the driveway and sort it according to the design. He wanted to see what pieces he was working with. It was very much like putting together a big puzzle. A rustic puzzle at that! Once everything was sorted out, Julian showed me how to mix the mortar and cut the pieces for the end cap and boarder. Mortar tends to harden quickly, so you have to work at a decent pace when setting the stone. Once the boarder was done, it was a matter of putting the correct pieces in and making sure it was level. It was a great learning experience! Here are some pictures..

The base

The stone. I had to unload all of this! Talk about a workout...

Mixing the mortar. I must have mixed 500 lbs of the stuff.

The design

80 lb. bags get heavy after a while!

Mortar

Stone from mutual materials

Setting my first bluestone

Julian showing me how to measure for the proper cut. It wasn't difficult
once he showed me how it's done.


Getting things ready for my cut. This one was just a straight piece,
so a lot easier than the corner piece.

Jose cutting strips for the end cap

making sure it's all level

Border


Final product. It turned out pretty nice!